Initial Setup
Sign in to Token Vault, choose a vault mode, and add your first credential.
This guide walks you through going from zero to a working vault in under five minutes.
Sign In
Token Vault uses Google authentication. Go to tokenvault.uk/login and sign in with your Google account. No separate registration is required. Your account is created automatically on first sign-in.
After signing in you will land on the command center dashboard. Since no vault is configured yet, it shows a setup prompt with a link to configure your vault.

Configure Your Webhook Vault
Token Vault is webhook-sovereign: your credentials are stored on your own infrastructure. Open Settings > Vault and run the setup wizard. You will be prompted to enter your webhook URL and HMAC secret.

Webhook Setup
How to deploy a conformant webhook server and connect it to Token Vault.
Webhook Protocol
Complete endpoint reference for /v1/store, /v1/credential, /v1/proxy, and more.
Add Your First Token
Once your vault is configured, go to the Tokens page and add a credential:
- OAuth flow - click "Connect GitHub", "Connect Google", or another provider button under "Token Vault Managed Logins". Token Vault handles the OAuth exchange and stores both the access token and refresh token.
- Manual entry - click "Add Custom Token" and paste any API key or Personal Access Token (PAT).
OAuth tokens are automatically refreshed when they expire. Manual tokens must be rotated by hand. See Token Management for details on token types and refresh behaviour.
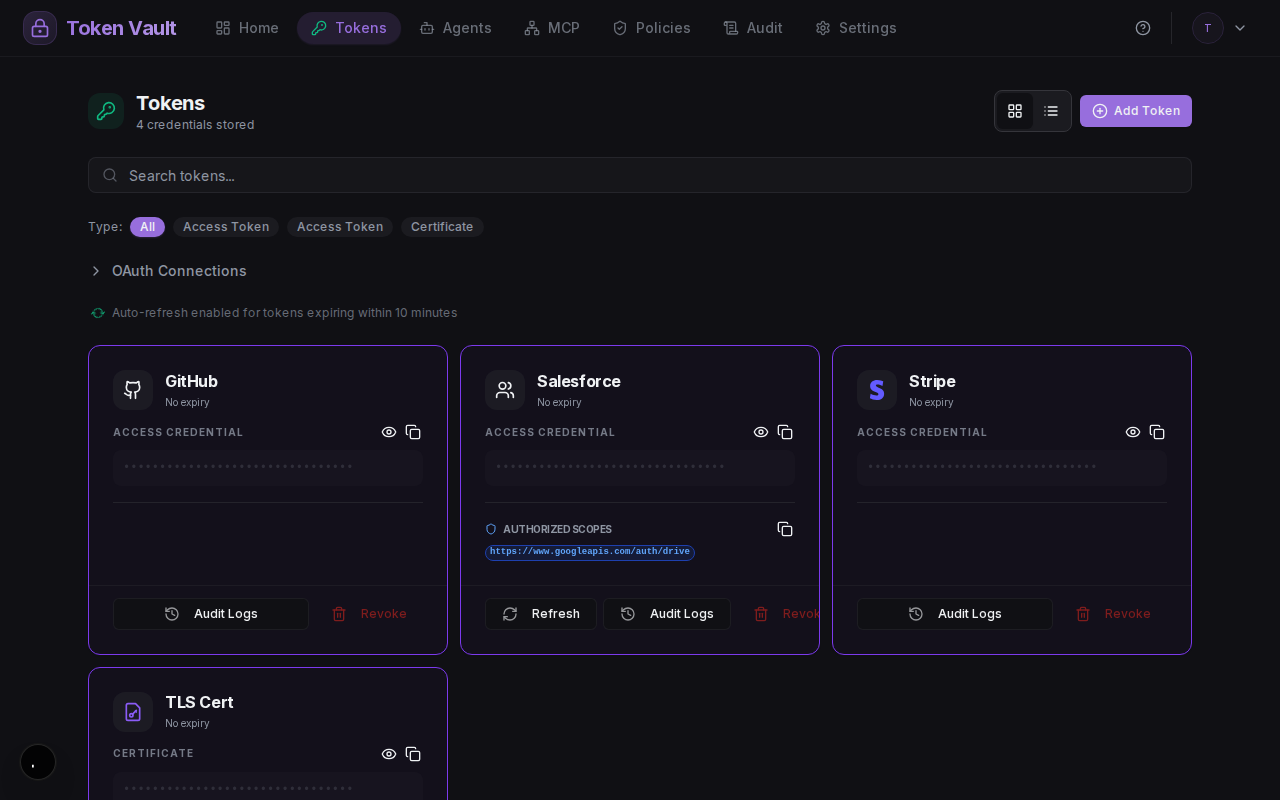
After adding a few tokens your tokens page will look like this:
Next Steps
With your vault set up and a token stored, you can now: