Binding Your Webhook
The one-time handshake that pairs your deployed webhook with your Token Vault account — bind page, one-time code exchange, HMAC establishment, and troubleshooting.
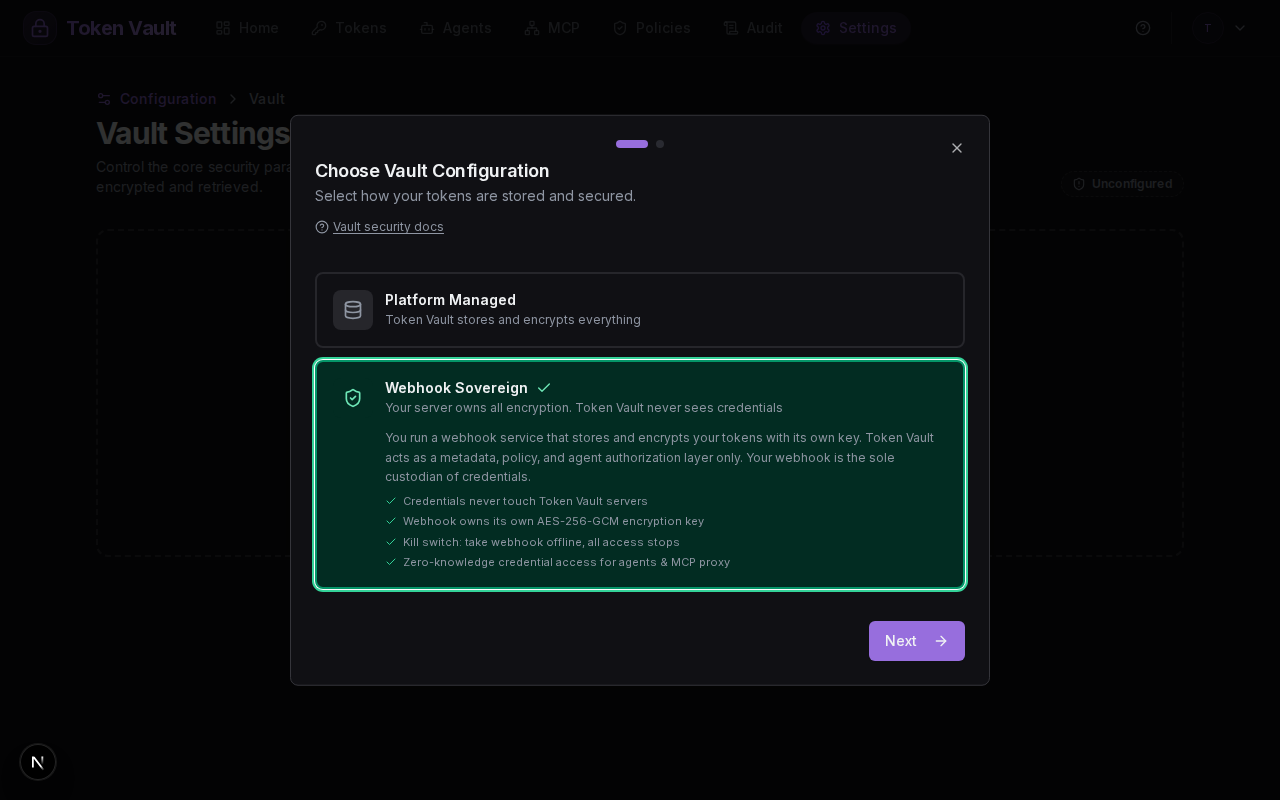
Binding pairs a deployed webhook with your Token Vault account in one automatic handshake — you never copy an HMAC secret by hand. This page assumes you know how the two planes divide; if you don't have a webhook deployed yet, start with the Quickstart.
Configuration at a glance
| Setting | Value |
|---|---|
| Storage | Your webhook server (via the /v1/storage protocol) |
| Encryption | Your webhook's choice — reference implementations encrypt at rest with AES-256-GCM |
| Token Refresh | Webhook-autonomous by default; opt-in TV-mediated for built-in providers — see Token Refresh |
| Kill Switch | Yes — see Architecture |
| Credential exposure to TV | None (one opt-in exception: TV-mediated refresh briefly handles tokens in transit — never stored) |
| TV Static IP | 34.12.35.243 (for IP whitelisting) |
The bind handshake
1. Deploy a webhook server
Your webhook implements the webhook protocol — eight core endpoints across two categories (HMAC-signed calls from Token Vault, and ticket-authenticated direct access from agents and browsers). The TypeScript reference implementation runs on Cloudflare Workers, Cloud Run, or Deno.
2. Open the webhook's bind page
Your webhook serves a /bind page that generates a one-time registration link. Visit it in your browser:
https://your-webhook.example.com/bindThe bind page shows your webhook's external URL and a "Connect to TokenVault" button.
3. Click "Connect to TokenVault"
The button redirects you to Token Vault's /vault/webhook-bind page with three URL parameters:
code- a one-time exchange code (UUID, 5-minute TTL)webhook_url- your webhook's URL (base64-encoded)hmac_hash- SHA-256 hash of the webhook's HMAC secret (for tamper detection)
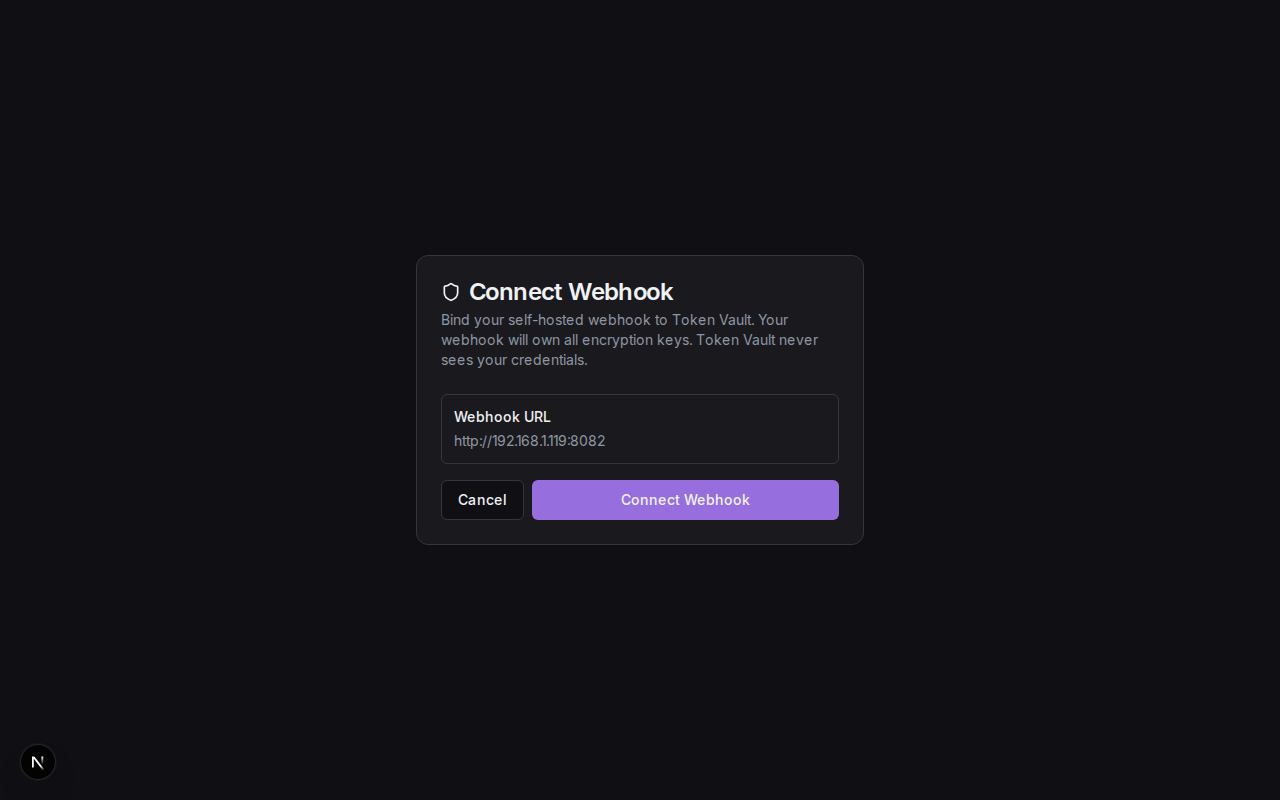
4. Confirm the binding
On the Token Vault bind page, review the webhook URL and click Connect. Token Vault calls your webhook's /v1/exchange endpoint with the one-time code, receives the HMAC secret directly from the webhook, and stores the webhook configuration. During the same exchange your webhook advertises its capabilities (e.g. tv-refresh, totp), which unlock optional flows.
5. Start using your vault
Once bound, your vault is ready. Tokens you add from this point go straight to your webhook for storage.
HMAC authentication
After the initial code exchange, every request from Token Vault to your webhook is signed with HMAC-SHA256. Your webhook must verify the signature before processing any request. See the webhook authentication docs for details.
Troubleshooting
Next Step
Add your first token →, then give an agent access.
Ready to try it?
Sign up free with Google — your credentials stay on your own webhook, and the quickstart gets an agent fetching its first credential in about ten minutes.
Architecture: Two Planes, Zero Custody
The canonical explanation of Token Vault's webhook-sovereign design — control plane vs data plane, signed-ticket credential paths, encryption custody, and the kill switch.
Agent Credentials API
Reference for GET /api/agents/credentials — auth forms, the 307 redirect contract, list mode, response schemas, and the full error catalogue.